Customize your Dashboard
Theme: Business Dashboard
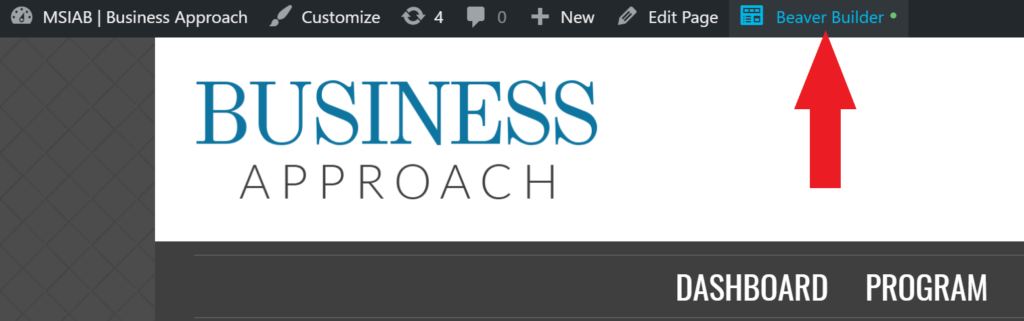
First, click on the “Beaver Builder” link at the center top of the page, you will find this anywhere on the site (except admin pages).
Introduction Section
A. Welcome Header Text
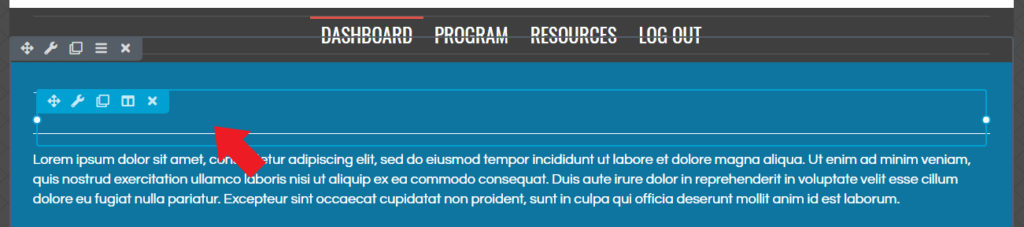
A1. Click on the welcome heading text.
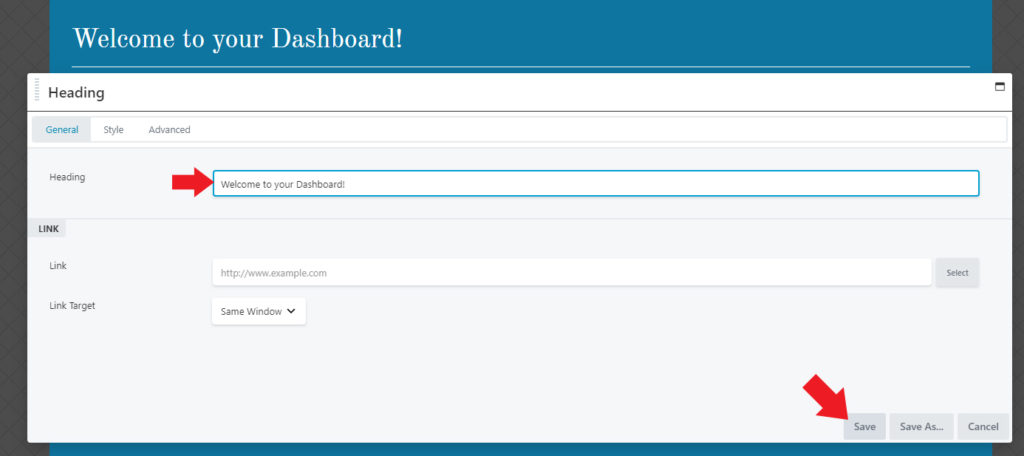
A2. Type your custom welcome heading in the “Heading” field. Click on “Save” button.
B. Welcome Content Text
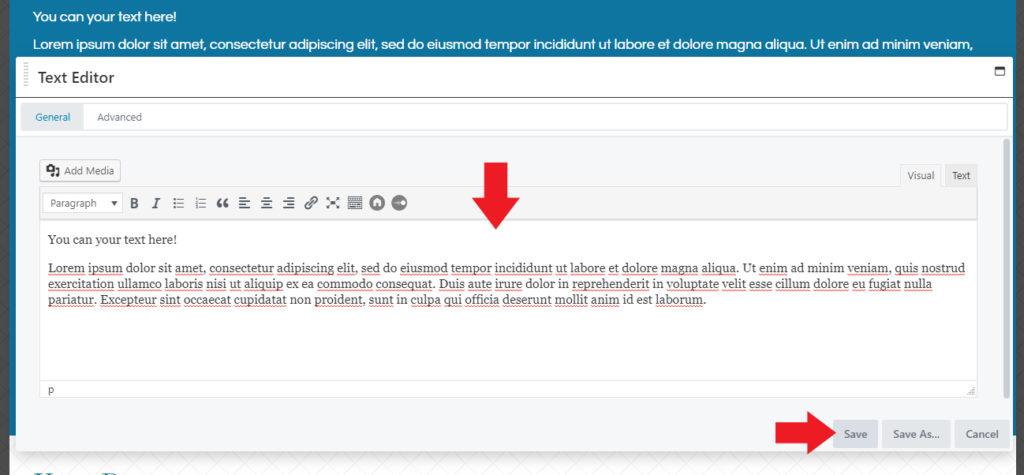
B1. Click on the welcome content text.
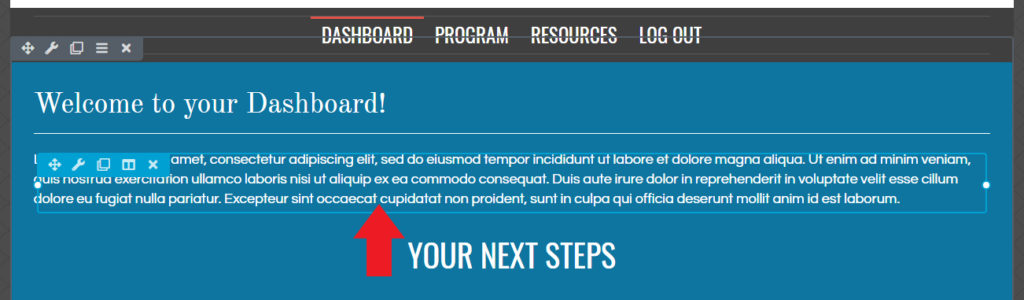
B2. Type your custom welcome content in the text area. When you’re done, click on “Save” button.
C. Your Next Steps Section
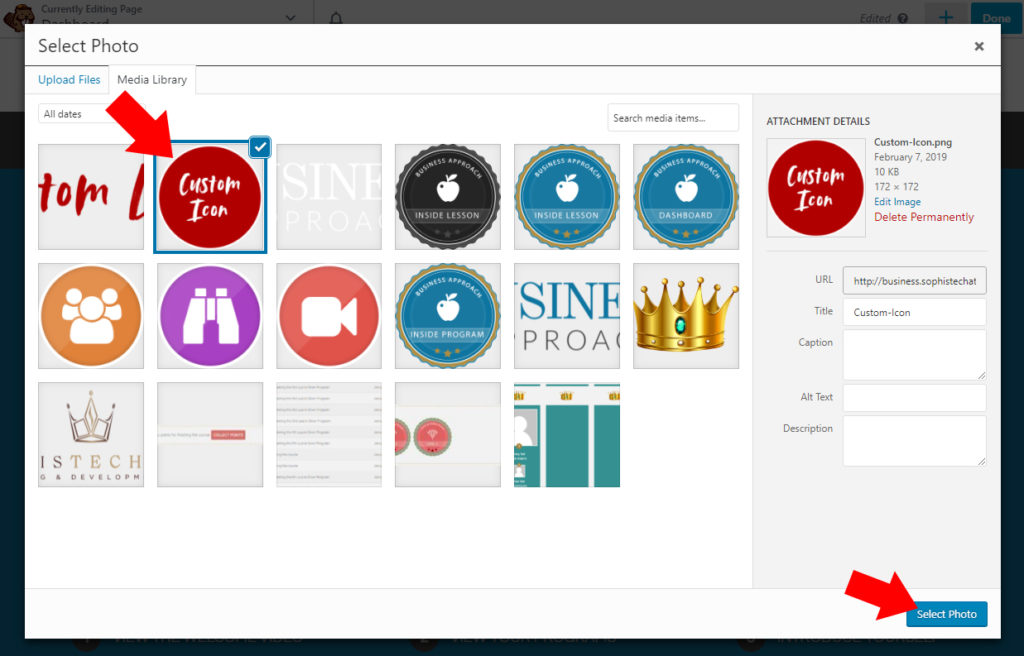
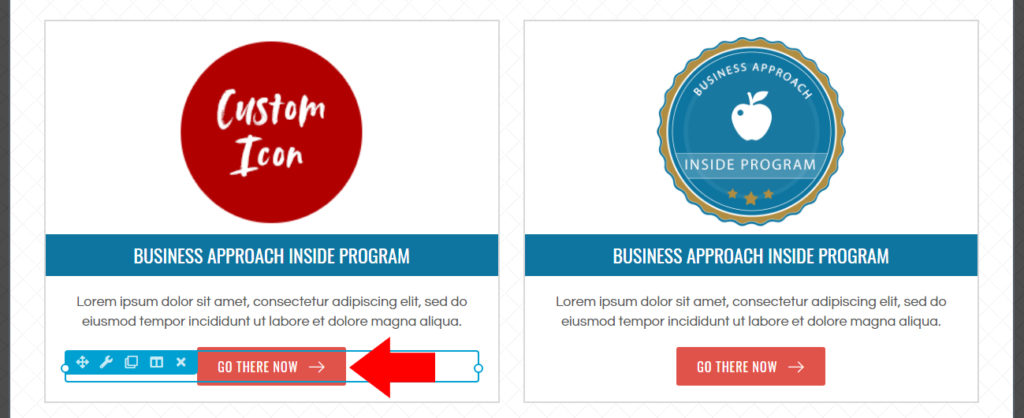
C1. To edit the image, click on the sample image.
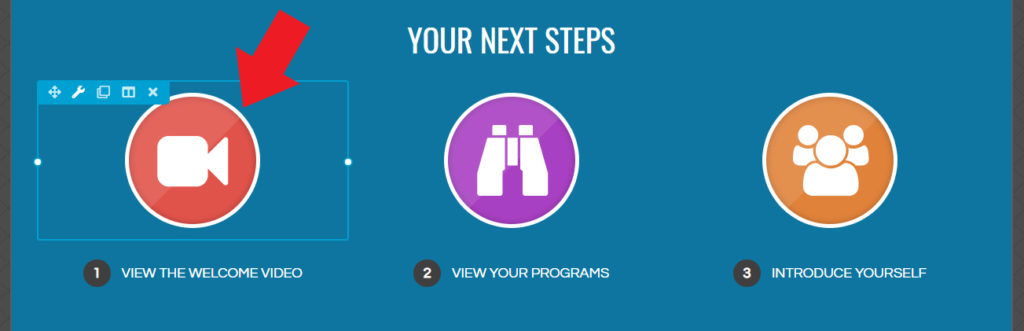
C2. Click “Edit” from the popup screen.
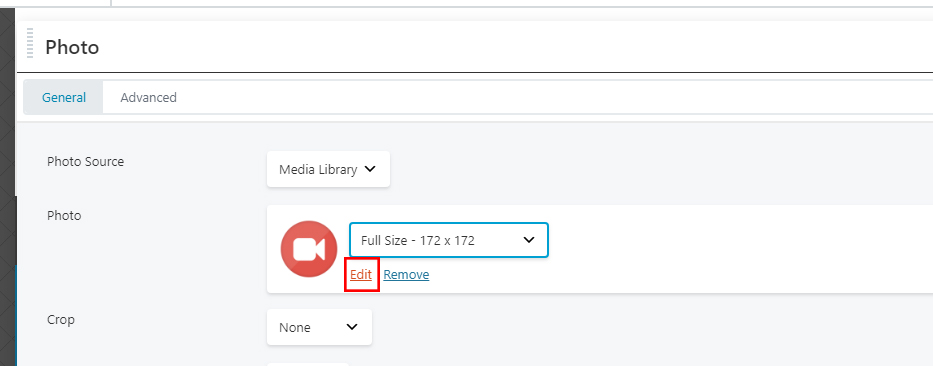
C3. Upload and select your custom icon then click “Select Photo” button.
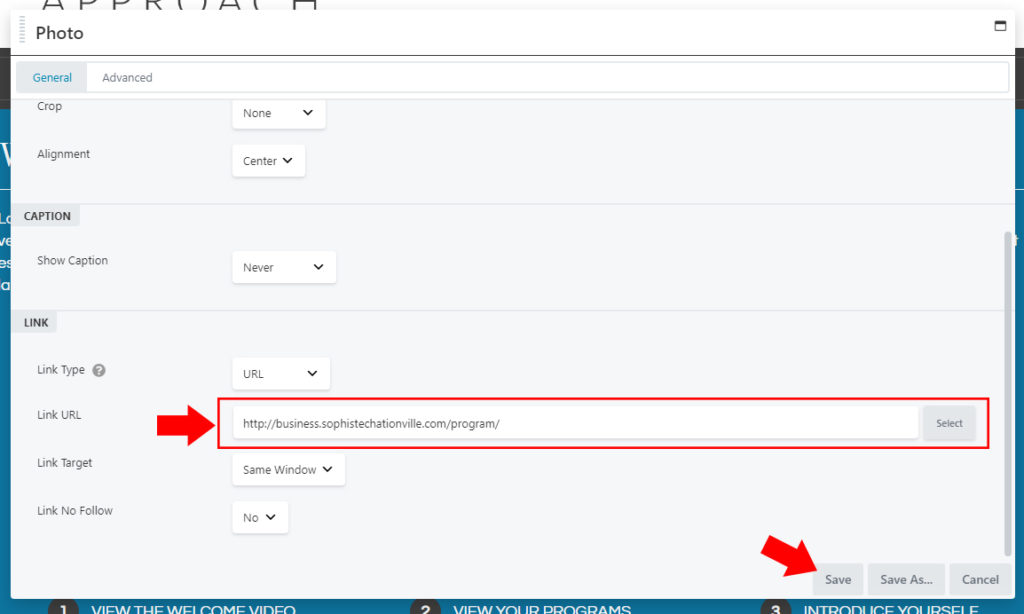
C4. Scroll down then in the “Link URL” text box you can select the page link for this image. Then click on “Save” button.
C5. To edit the text, click on the sample text.
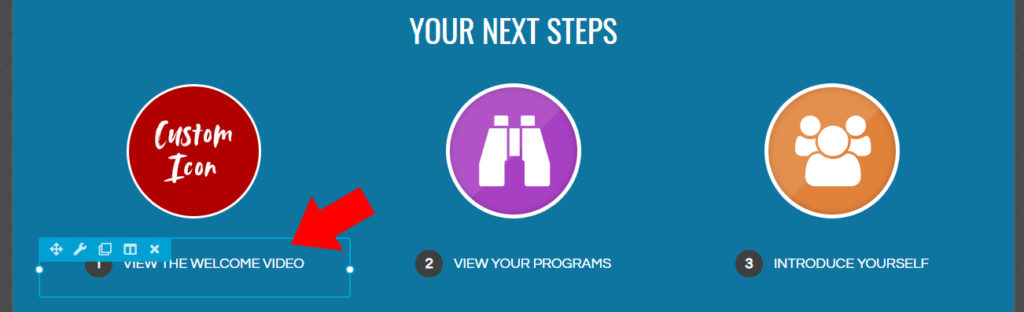
C6. Type the your content in the text area. You can also add a link by highlighting the text then click on the “chain” icon.
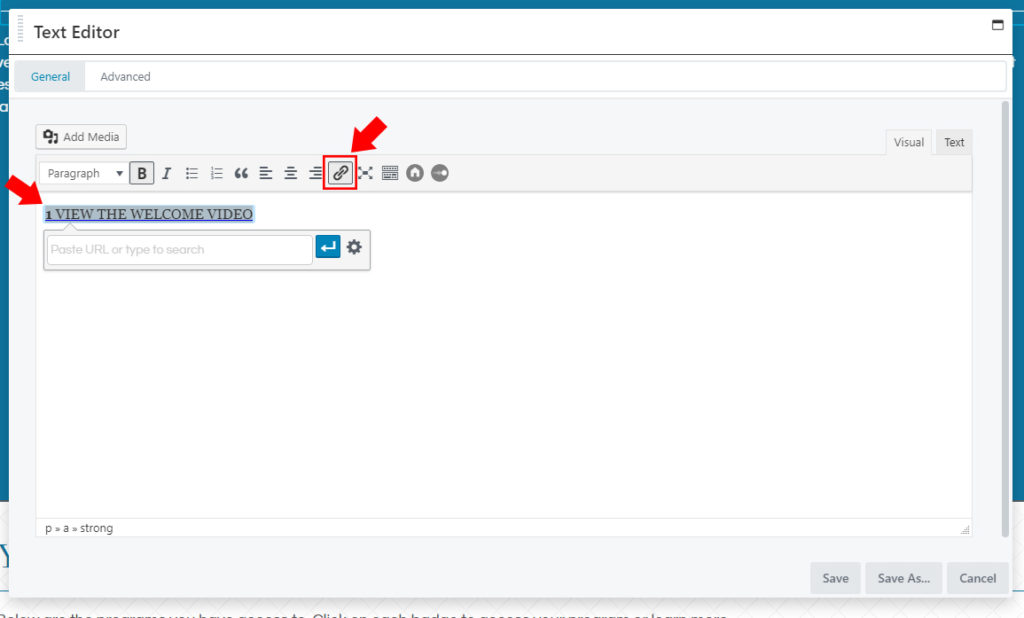
C7. Search and select the page you want to link. Then click on “Add Link” button.
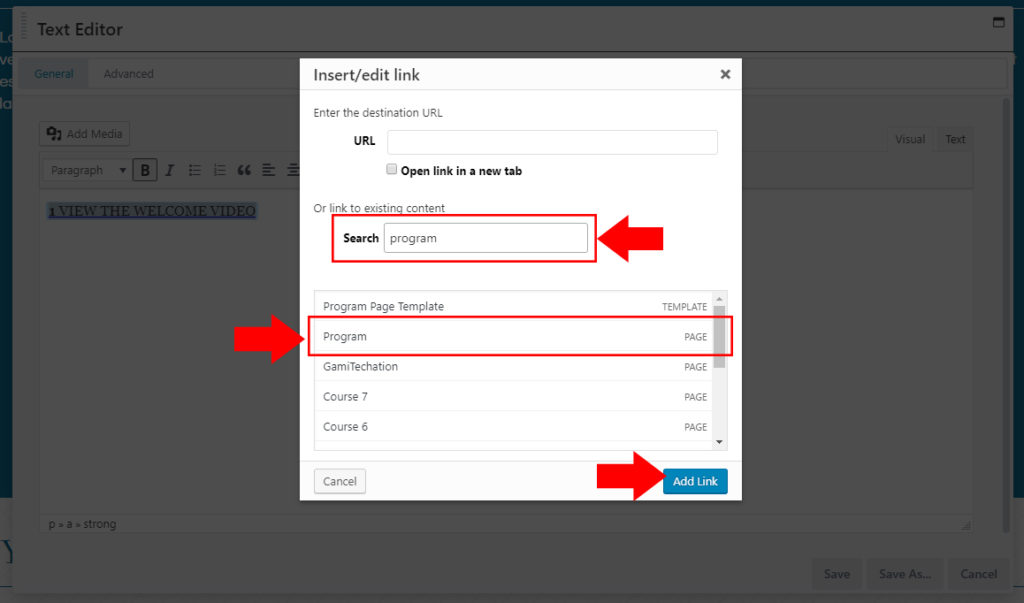
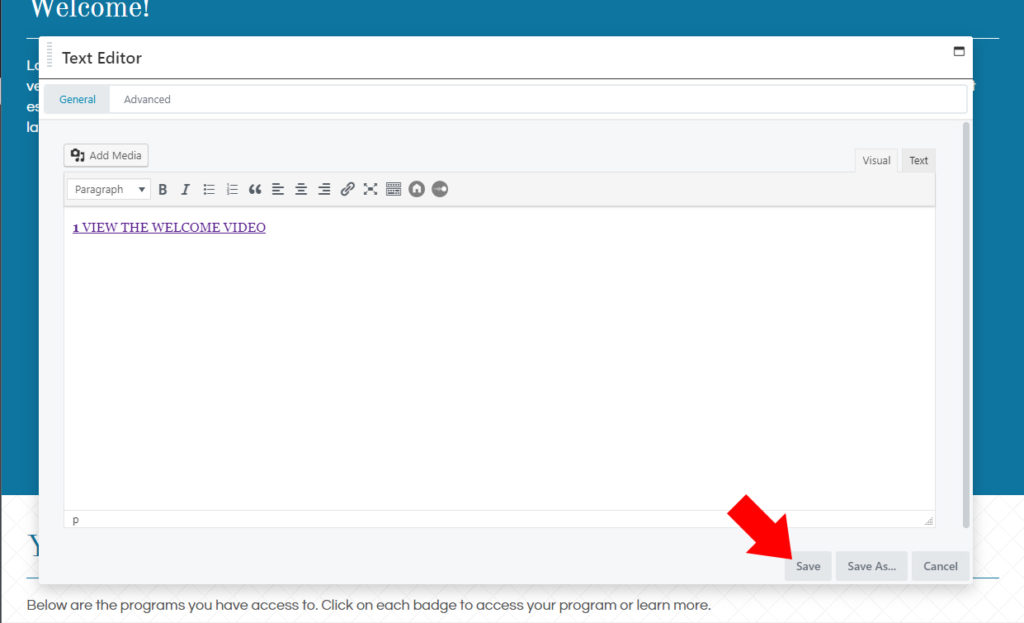
C8. Click on “Save Button”.
C9. For the two other columns, repeat Steps C1 – C8.
D. Your Programs Section
D1. Click on the Course Icon.
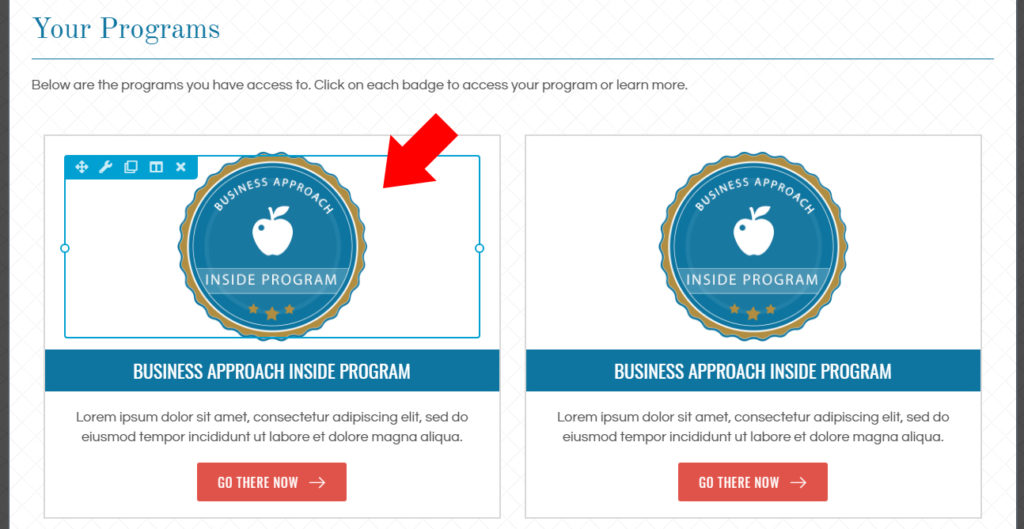
D2. Highlight the sample AccessAlly badge then click on the AccessAlly icon.
D3. Search and select the page you want to link. Then click on “Insert Shortcode”.
D4. Click on “Save” button.
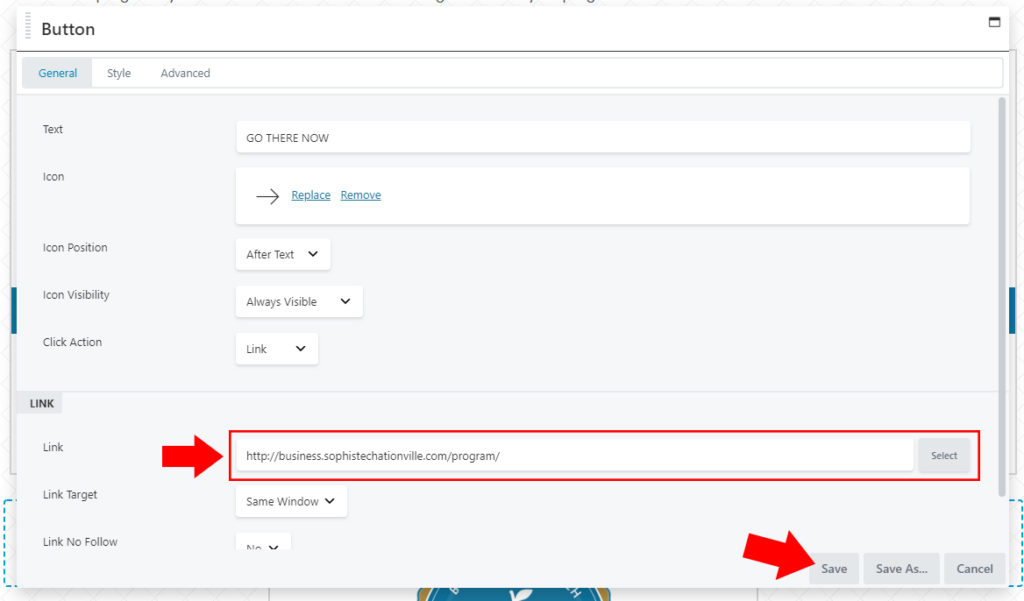
D5. To edit the button link, click on the “Go There Now” button.
D6. Search and select the page you want to link. Then click on “Save” button.
D7. To edit the other programs, repeat steps D1-D6.
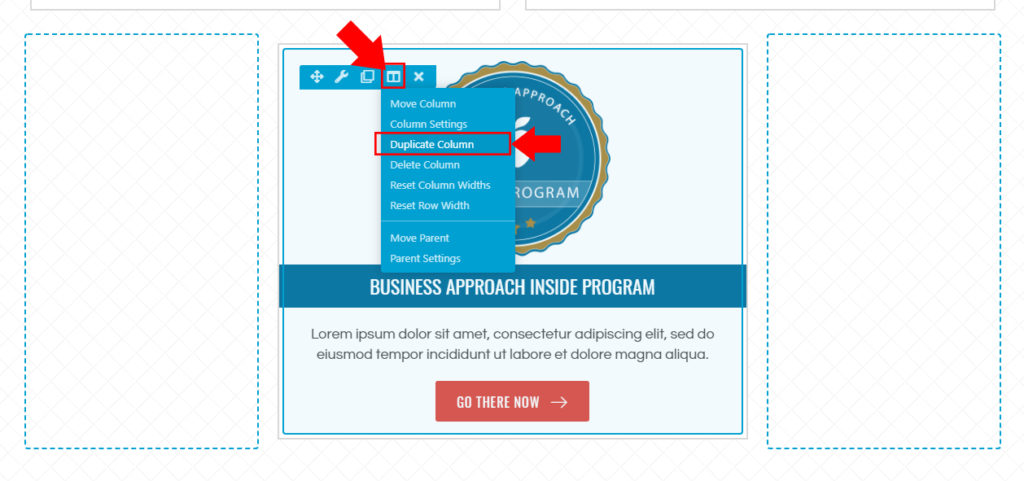
If you want to add more programs, follow steps D8-D9.
D8. Hover on the Column icon, then click “Duplicate Column”.
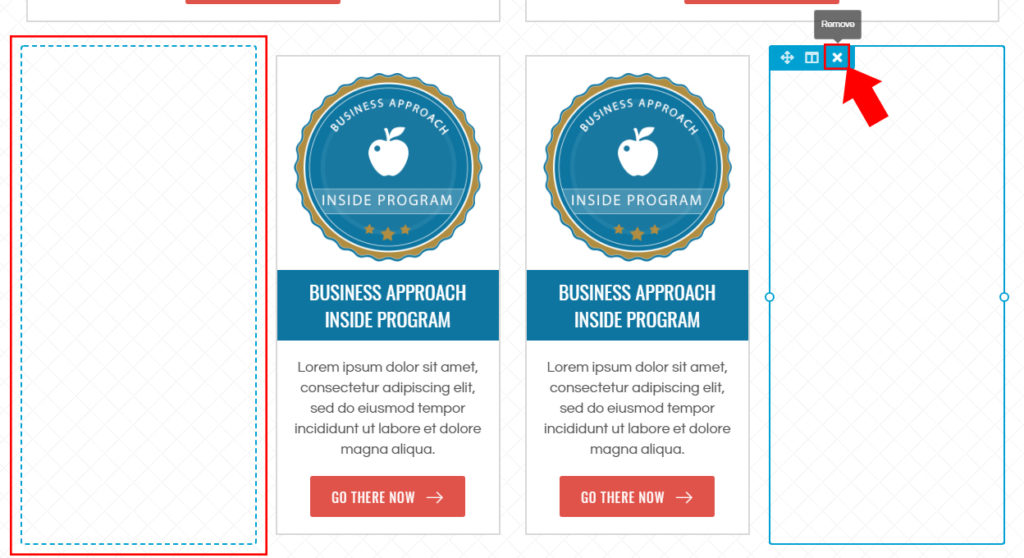
D9. To remove the extra columns, hover on the empty column then click on the “x” button. Repeat this step for the other empty column.
E. Widget Section
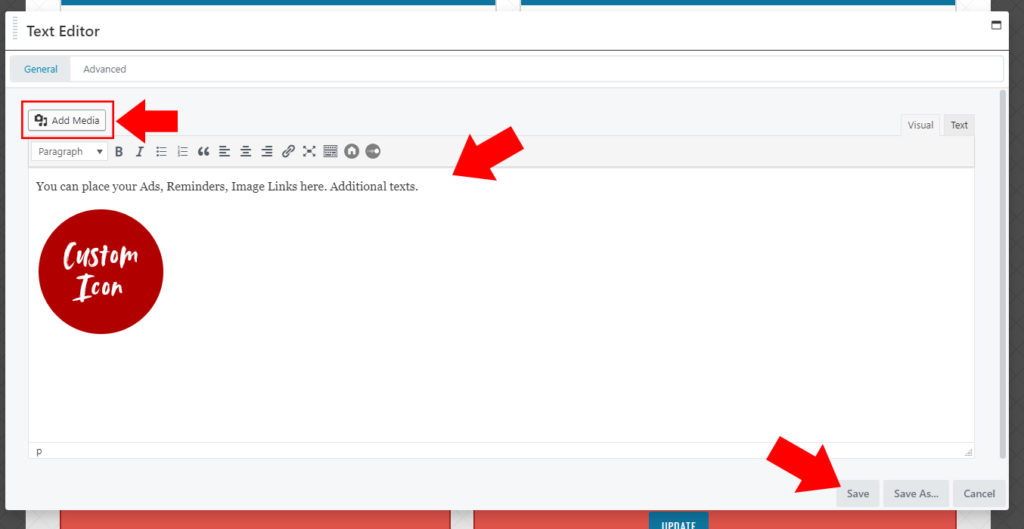
E1. Click on the sample content.

E2. Add your custom content in the text area, you can also add a media by clicking on the “Add Media” button. When done, click on “Save” button.
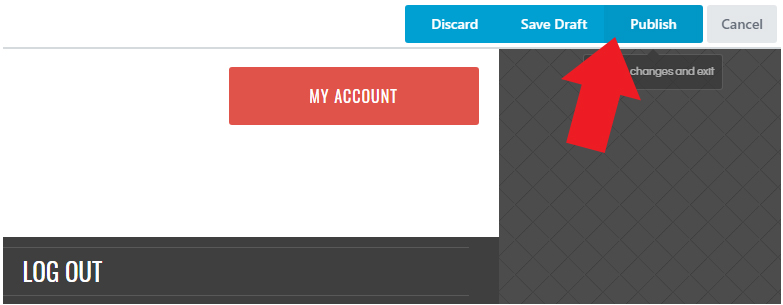
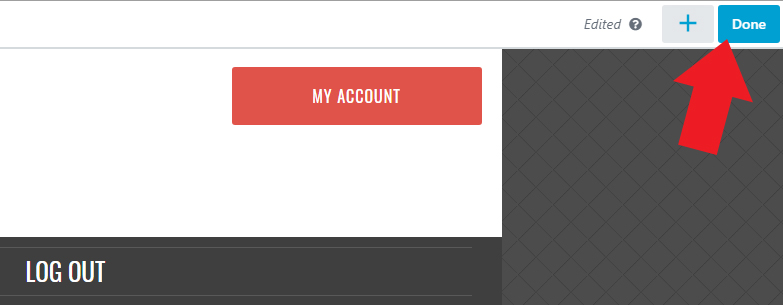
To save your changes above, click on “Done” button at the top right corner.
Then, click “Publish” button.